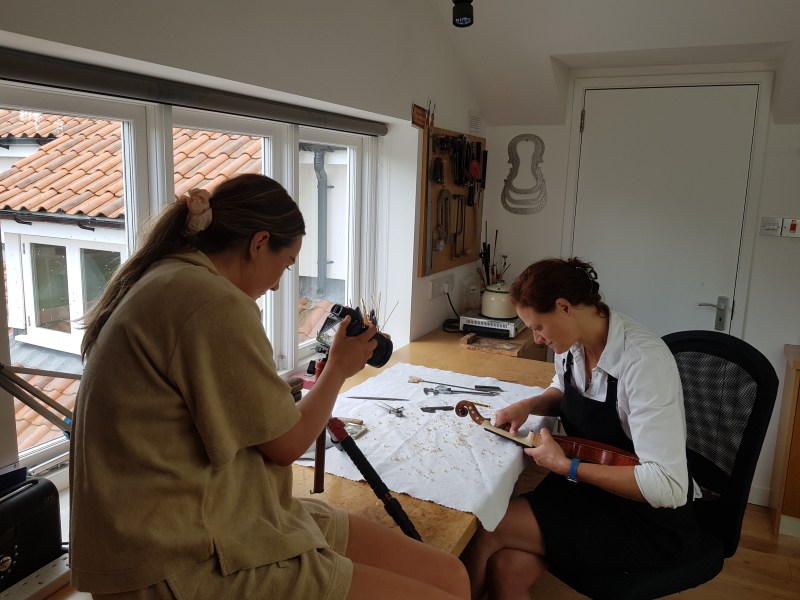
Over the last 10 years, Iris has been teaching weekly restoration and retouching courses in the UK and abroad and since the pandemic has created 2 online courses to date. In February 2021, Iris launched her first online course on violin neck grafts and in October 2022 her second online course on crack repair.
As featured in the August issue of the Strad magazine!
https://www.thestrad.com/news/analysis-august-2021-adaptive-learning/13244.article

Crack Repair course
Course Content
This is a 10 hour course comprising 46 chapters where I walk you through the process of dealing with cracks on 4 different scenarios, including 3 cracks on a violin front, a violin rib crack, a worm track on a cello front and cracks in the chinrest area of a violin front that needed improving just from the outside.
I explain and demonstrate the process of decision making on whether or not to open up a crack, the cleaning and gluing of the cracks and using wood filler or shavings if required, the importance and use of filler varnish as well as the retouching and finishing process and securing the cracks on the inside of the instruments.
Violin Neck Graft Course
Course Content
In this 12 hour long course, I guide you through each step necessary to complete a violin neck graft in chronological order from start to finish. Each step is explained first and then followed by me showing you how I achieve that part of the process. In terms of a timeline, this online course is the equivalent of teaching a 2-week course in person.
This Online Neck Graft Course consists of 2 parts which can be purchased individually.
This Course has the optional extra of English, Mandarin Chinese and Spanish subtitles. Other language subtitles may be added in the future depending on demand.
Part 1
15 Chapters
Approximately 6 hours of video
1 Fitting, gluing and trimming back the peg bushings
2 Sawing off the neck and chopping out the neck root
3 Introduction, choosing and planing the neck block
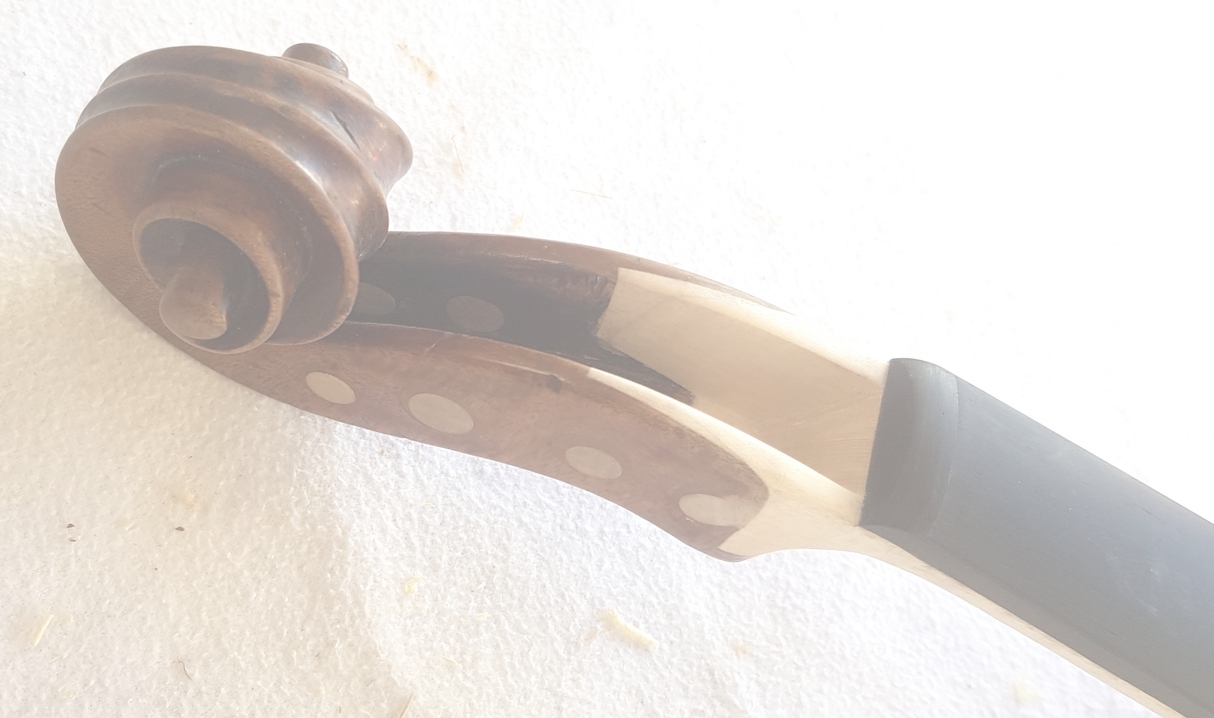
4 Removing the old French neck graft
5 Fitting and gluing pieces of wood into the French neck graft cut-outs
6 Fingerboard preparation
7 Establishing the 3 flat surfaces inside the pegbox
8 Transferring angles and band sawing of the neck block
9 Fitting the neck graft
10 Gluing the neck graft
11 Establishing the neck surface for the fingerboard
12 Positioning and gluing the fingerboard onto the neck
13 Removing excess wood from the neck and shaping top and bottom surface of the fingerboard
14 Establishing the pegbox, roughly shaping the neck and the nut
15 Finalising the nut and fingerboard and conclusion

Part 2
10 Chapters
Approximately 6 hours of video
1 Introduction and preparation of the top block mortice
2 Fitting and gluing the neck
3 Shaping the neck and application of filler varnish onto the peg bushings
4 Staining the neck
5 Retouch overview, application of clear varnish, scraping of the filler varnish on the peg bushings and retouching of the peg bushings
6 Application and scraping down of filler varnish along the joints
7 Retouching of the neck graft area
8 Retouching of the neck heel area
9 Applying patina, oiling the neck and finishing the nut and fingerboard
10 Explanation of the positioning of the peg holes and conclusion

AS FEATURED IN
BRITISH VIOLIN MAKING ASSOCIATION
Quarterly