Thank you to everyone who has shown an interest in how I approach this repair. The owner has given me kind permission to share the photos with you.
Having a “letterbox” repair with endgrain against endgrain is not structurally sound, nor easy to hide. Any wood that needs replacing across the grain of a front inside the edges is best done with a patch, like a soundpost patch.
Fitting a patch through a hole is possible but very difficult when it comes to aligning the grain. My preferred method is to match shavings to the original, press them into the area and fit a patch afterwards.
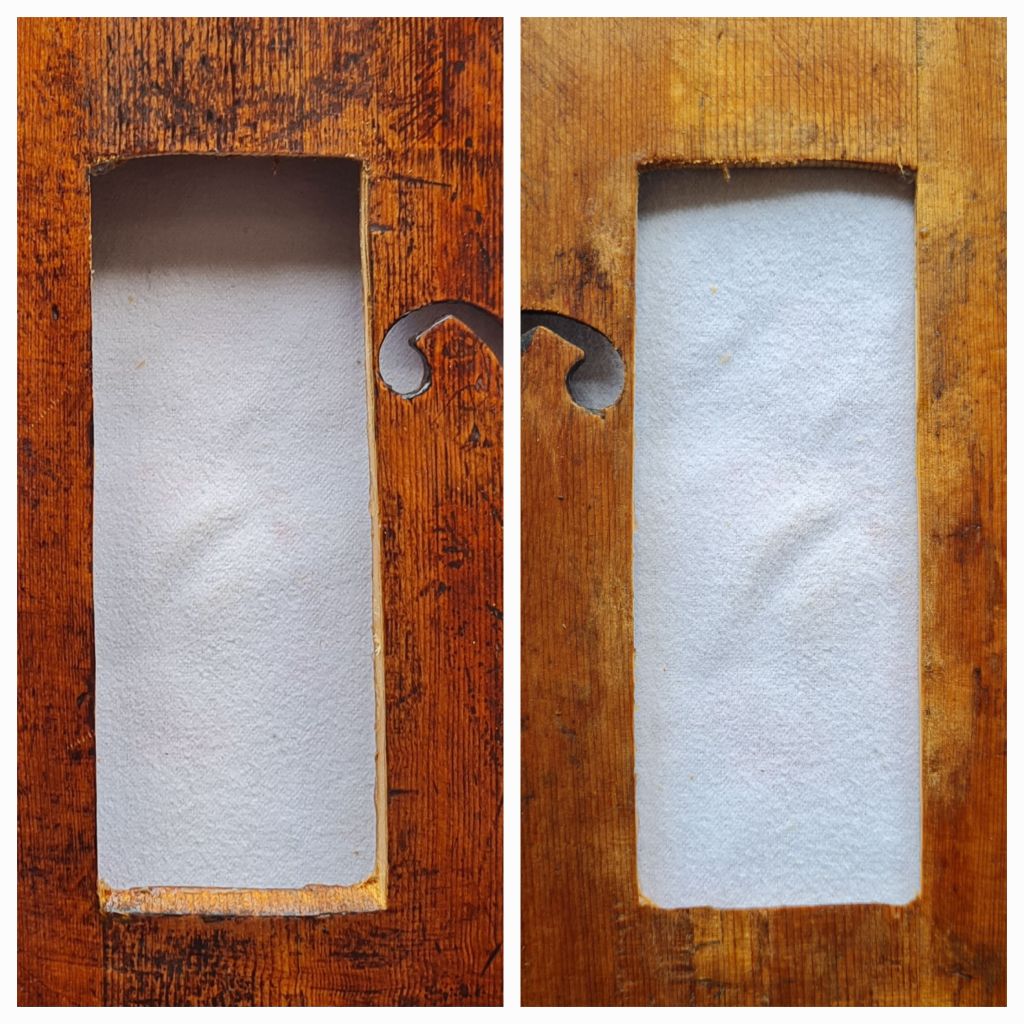
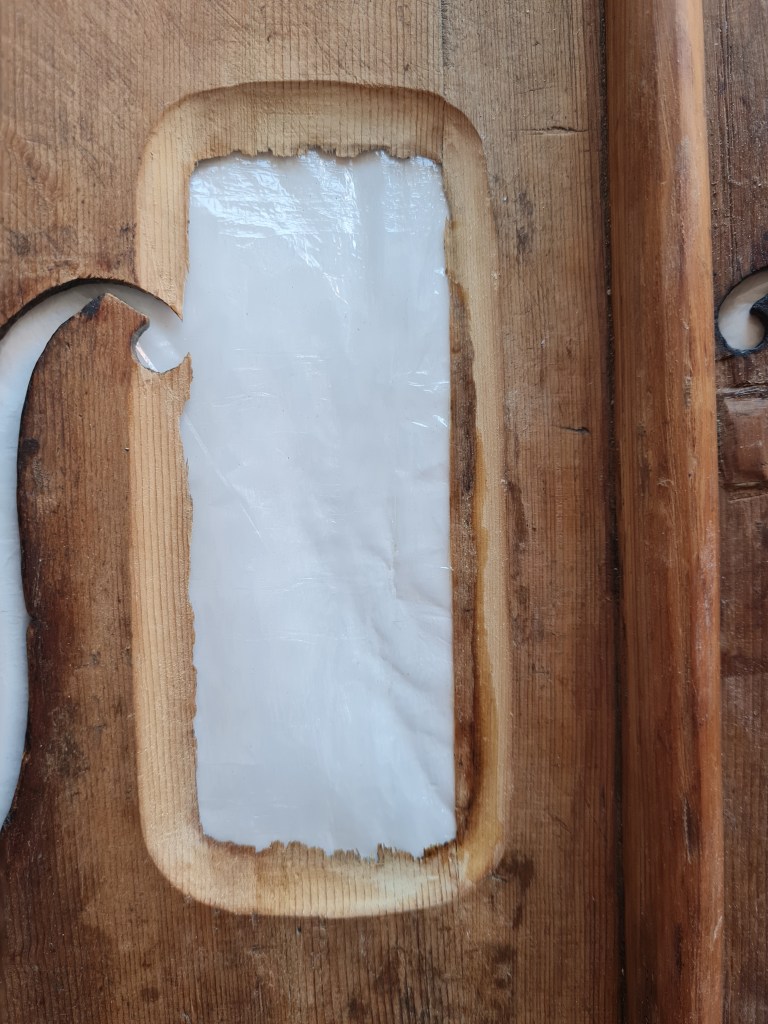
Photo 2 & 3: Protecting the cast with paper and gouging a concave curve down to the edge of the hole where the wood feathers out. The result is a ragged edge which is much easier to hide later.

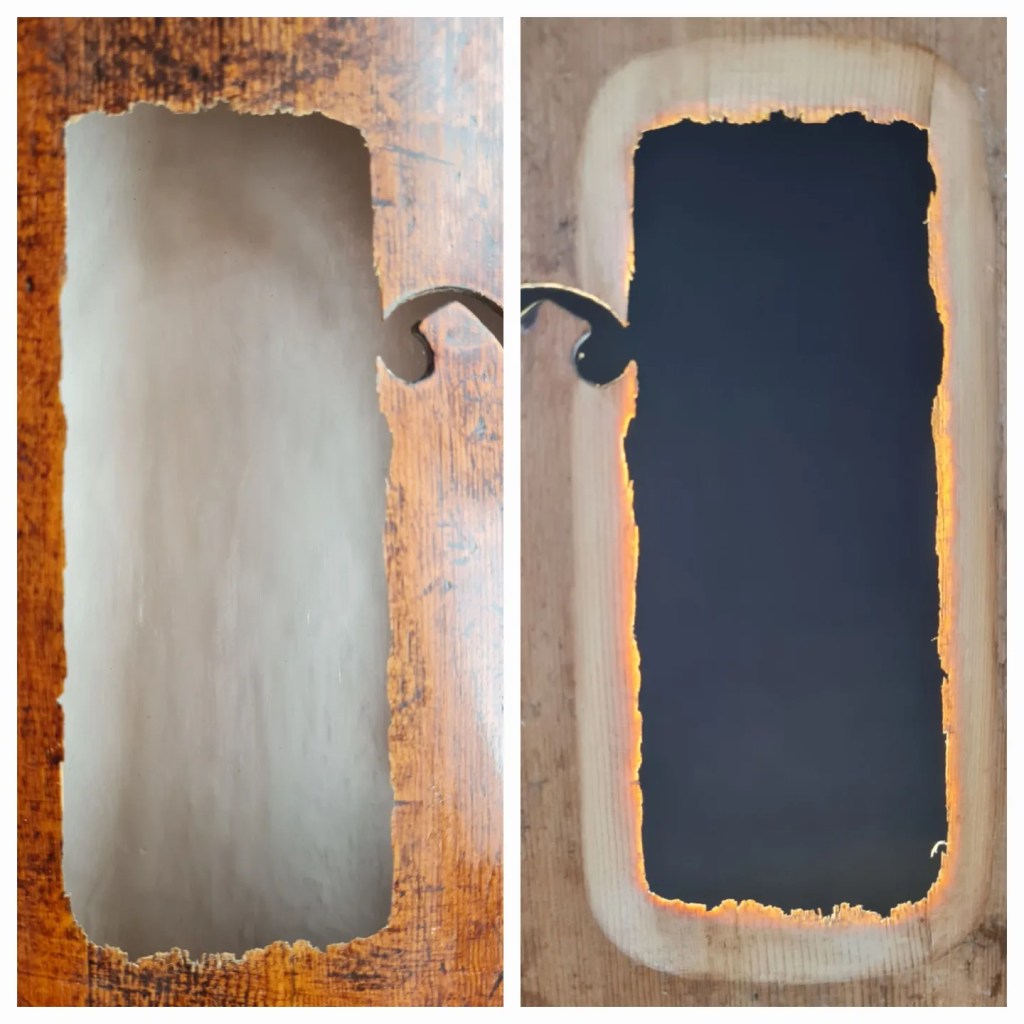
Photo 4: I kept the larger shavings from along the top when carving down towards the hole.
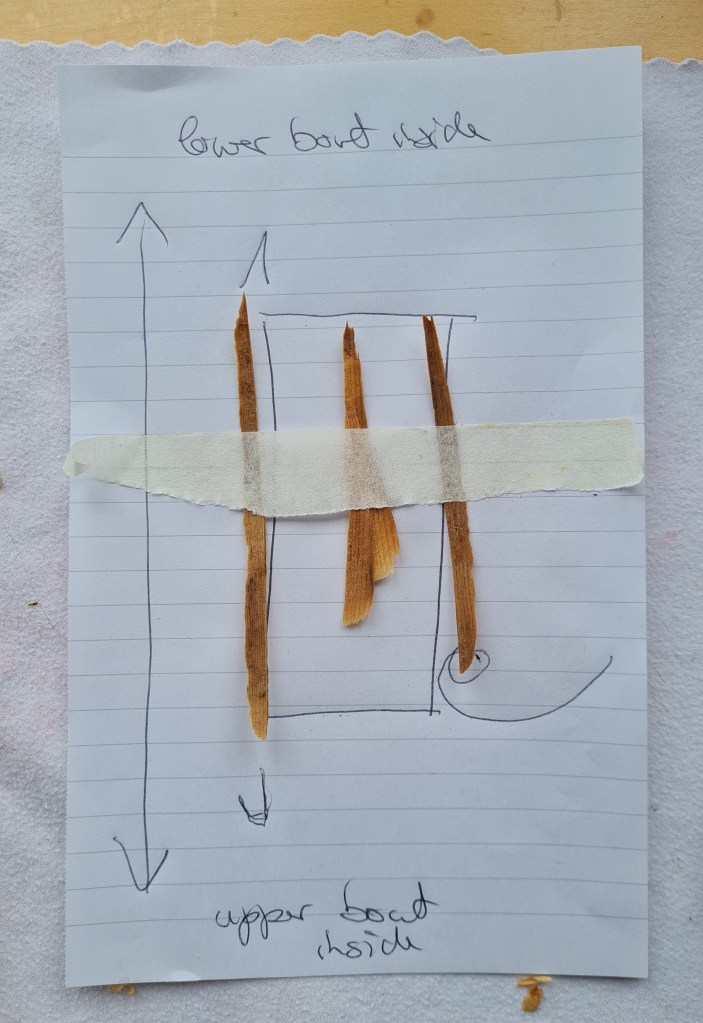
Photo 5: The lower part of the hole reaches over the centre joint where the grain is much finer.

Photo 6: The original shaving can be re-used to cover that area up to the centre joint. It had to be thinned down a bit.

Photo 7: The shaving gets positioned with tape to make sure the grainlines match on the outside.
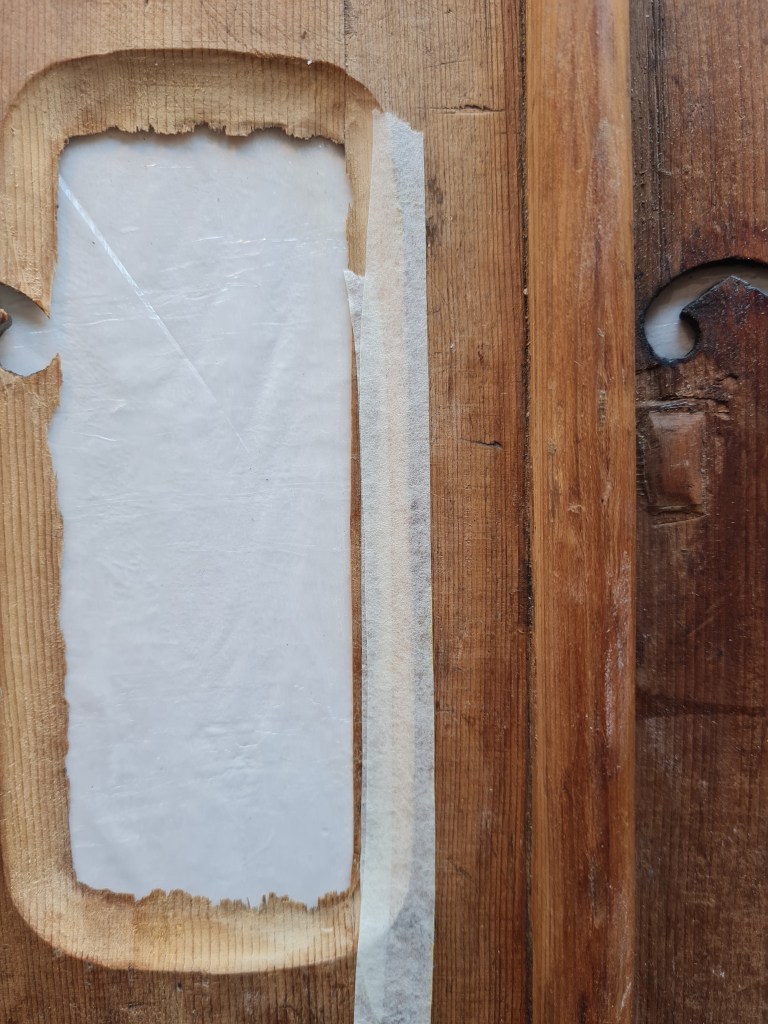
Photo 8: The shaving gets pressed and glued on with some hard foam material and a piece of wood on top.

Photo 9 & 10: The glued shaving viewed from the inside and the outside, now covering the area up to the centre joint.


Waouuuuh!
Iris, tu es géniale, on le savait déjà!
Je suis très impatiente de voir la suite.
Merci de partager ton travail et ton savoir.
😘
LikeLike
Merci beaucoup Julia, tu es si gentille! Tu me manques!
LikeLike
Excellent, thanks for sharing your great expertise!
LikeLike
We have faith in you, Dr. Carr!
LikeLike