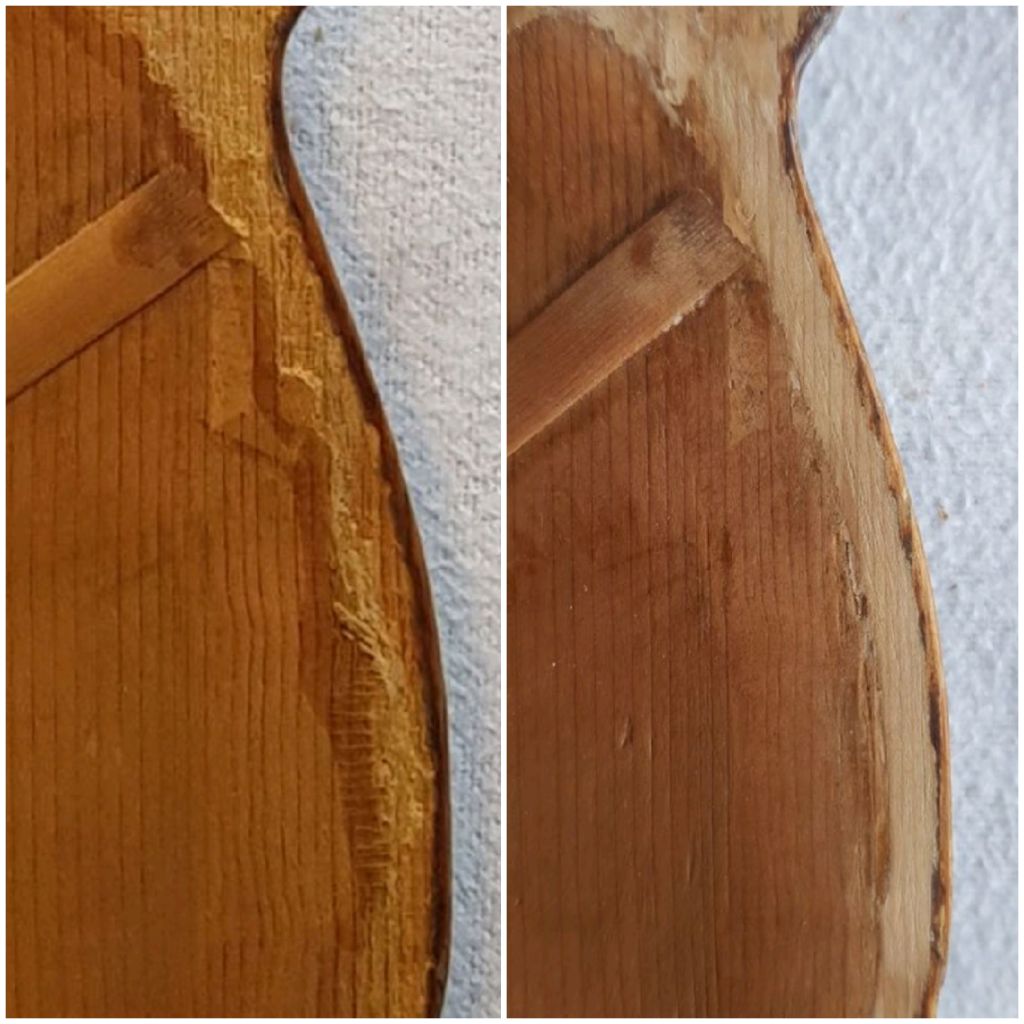
Replacing an old rib repair in the lower C-bout of a cello like for like. In this case the straight joints work as the rib is supported by the corner block.
Replacing an old rib repair in the lower C-bout of a cello like for like. In this case the straight joints work as the rib is supported by the corner block.
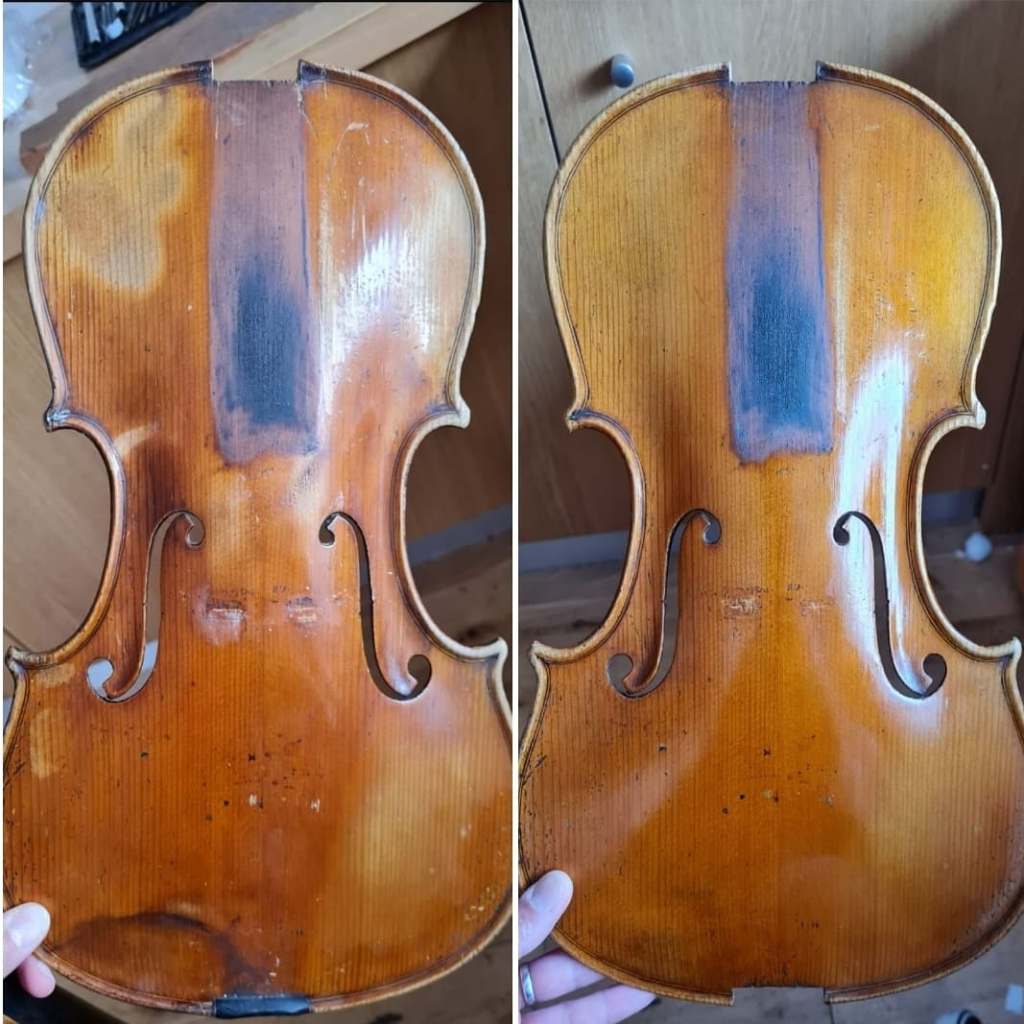
Last photo of the recent posts on this instrument with over-varnish removed and unnatural wear patterns retouched.
Also the patina around the chinrest area was not a natural build up but had been added on and wasn’t in keeping with the rest of the instrument.

My online teaching gets a mention in the August issue of the Strad magazine!
https://www.thestrad.com/news/analysis-august-2021-adaptive-learning/13244.article
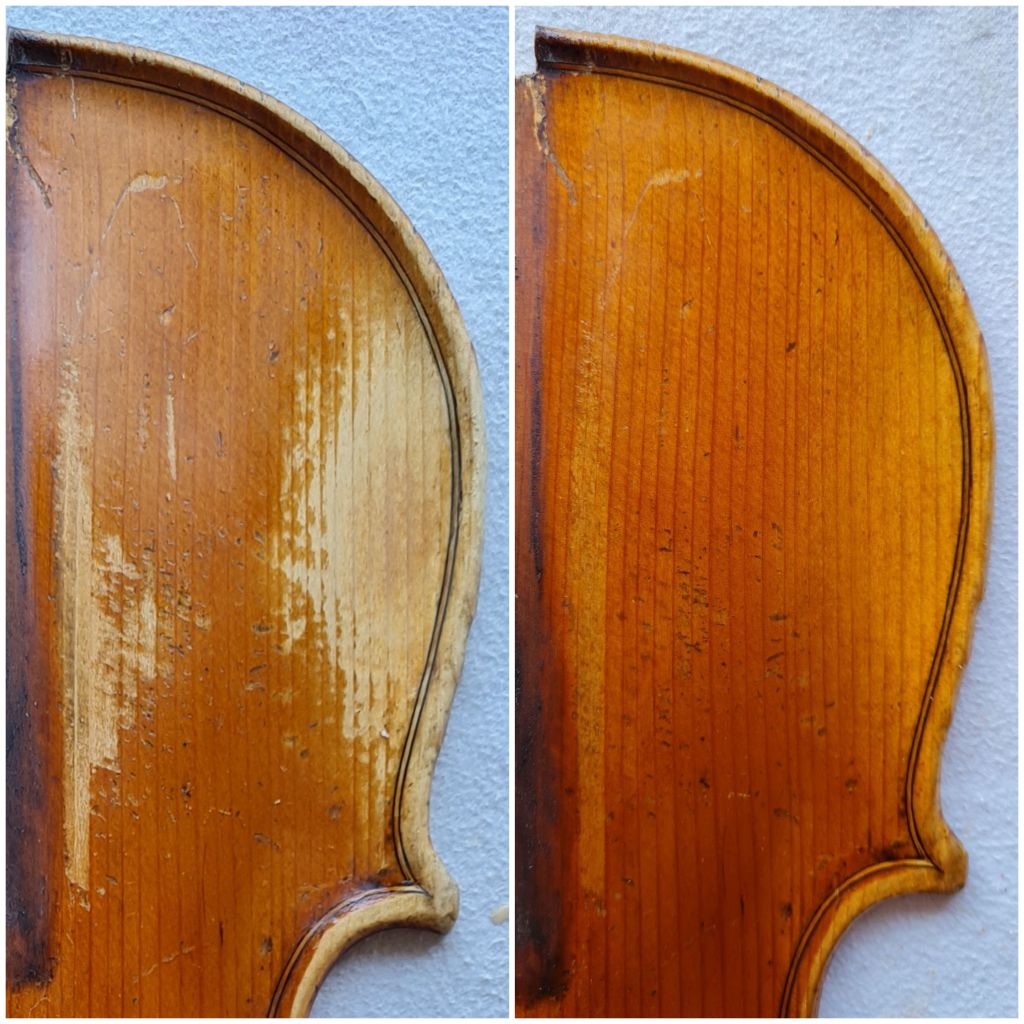
On a couple of recent posts, I have been showing before and after photos of retouching some unusual and unnatural looking wear patterns on a viola.
This is a time-lapse video of the upper bout bass side area of the front being retouched which took about 1 hour 15 minutes in real time.
Continuing with the front of this viola that had some unusual and unnatural looking wear patterns…
This viola had some unusual and unnatural looking wear patterns as well as some darker over-varnish. Some of those areas required a toning down and other areas needed to be matched to the original varnish, like the lower bout rib shown in the video.
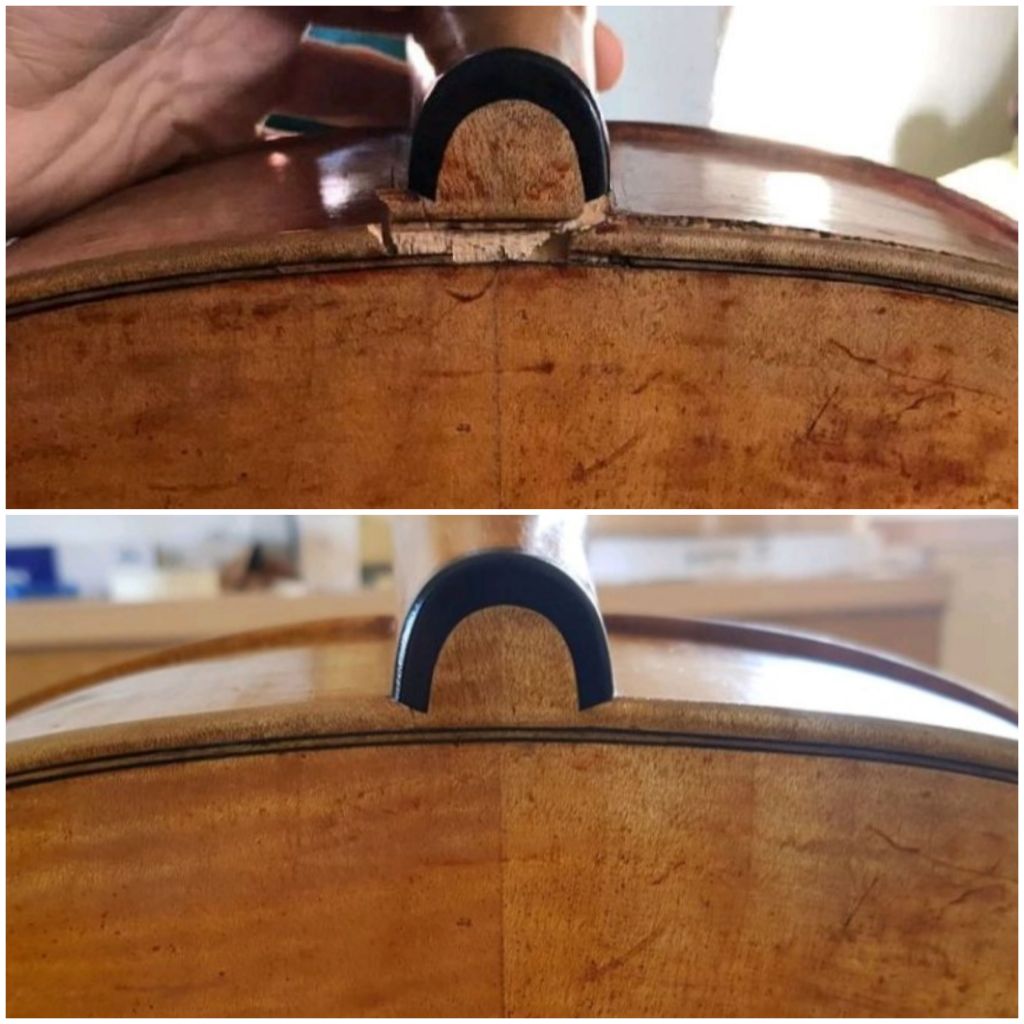
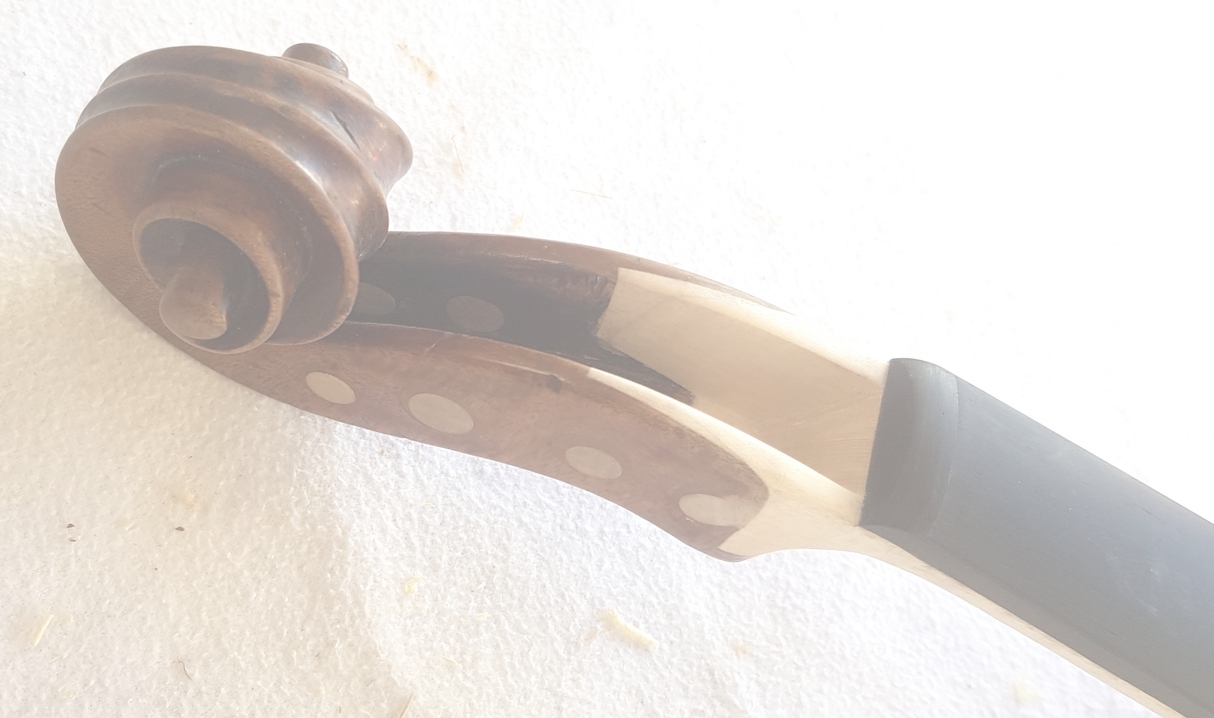
This cello neck got a knock and the button was ripped out still attached to the neck.
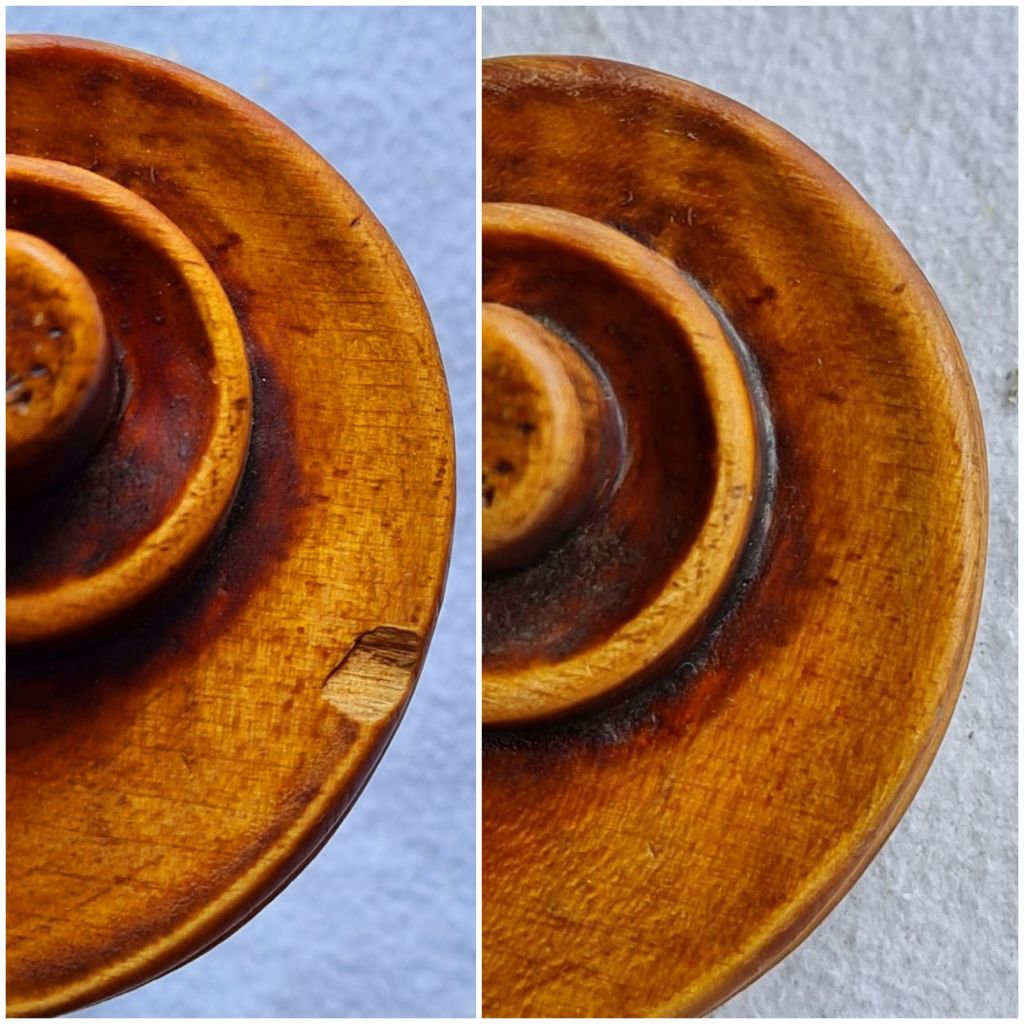
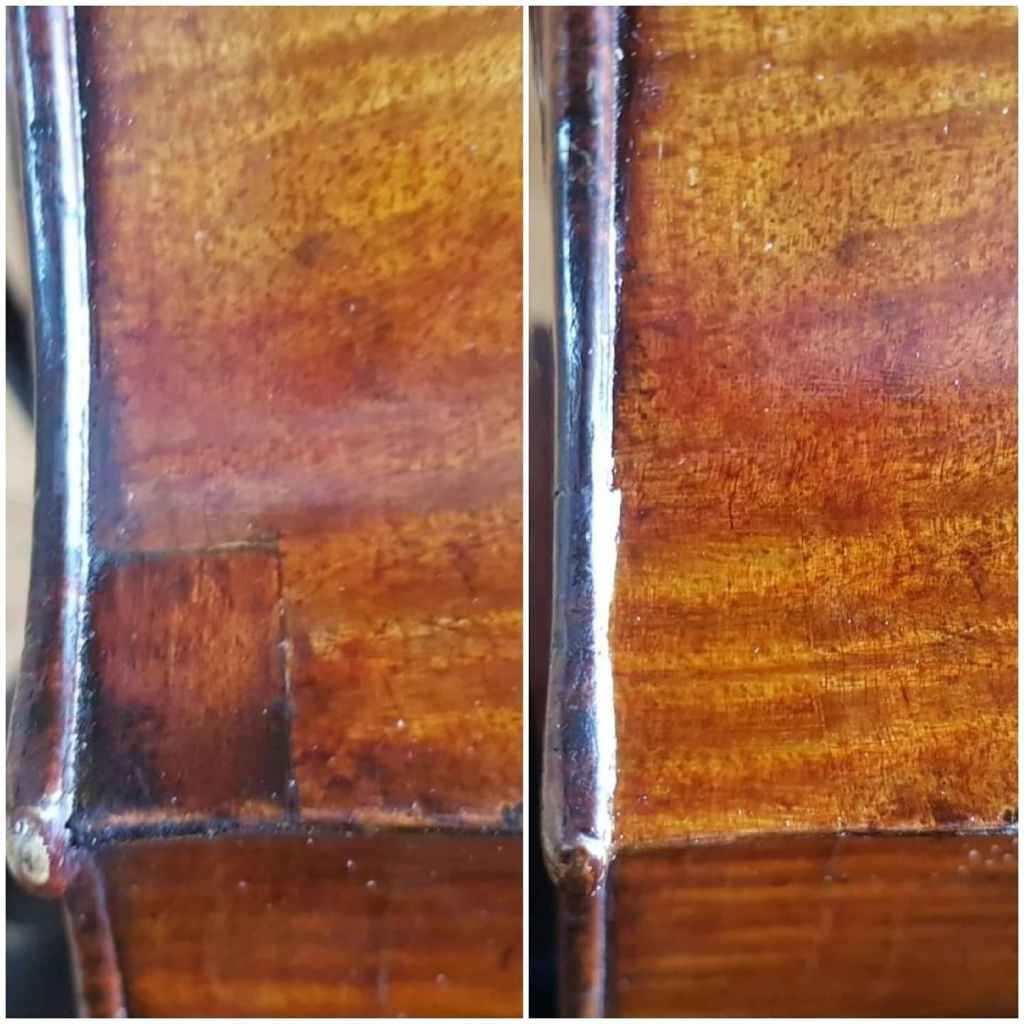
The photos show the fitting of a shaving to cover the chip on a scroll.

I am always particularly concerned about the gluing surface of the upper block area of the front as well as the immediate area below it as it’s so important for the stability of the neck and elevation.
It’s always a difficult decision how to best secure the gluing edges of a front using either filler or wood, depending on how badly the gluing surface has been damaged.
