I have a decent amount of experience with plugging holes in fronts up to around 4cm square. But this “letterbox” is around 14cm × 6cm, so I am coming up against unforseen difficulties.
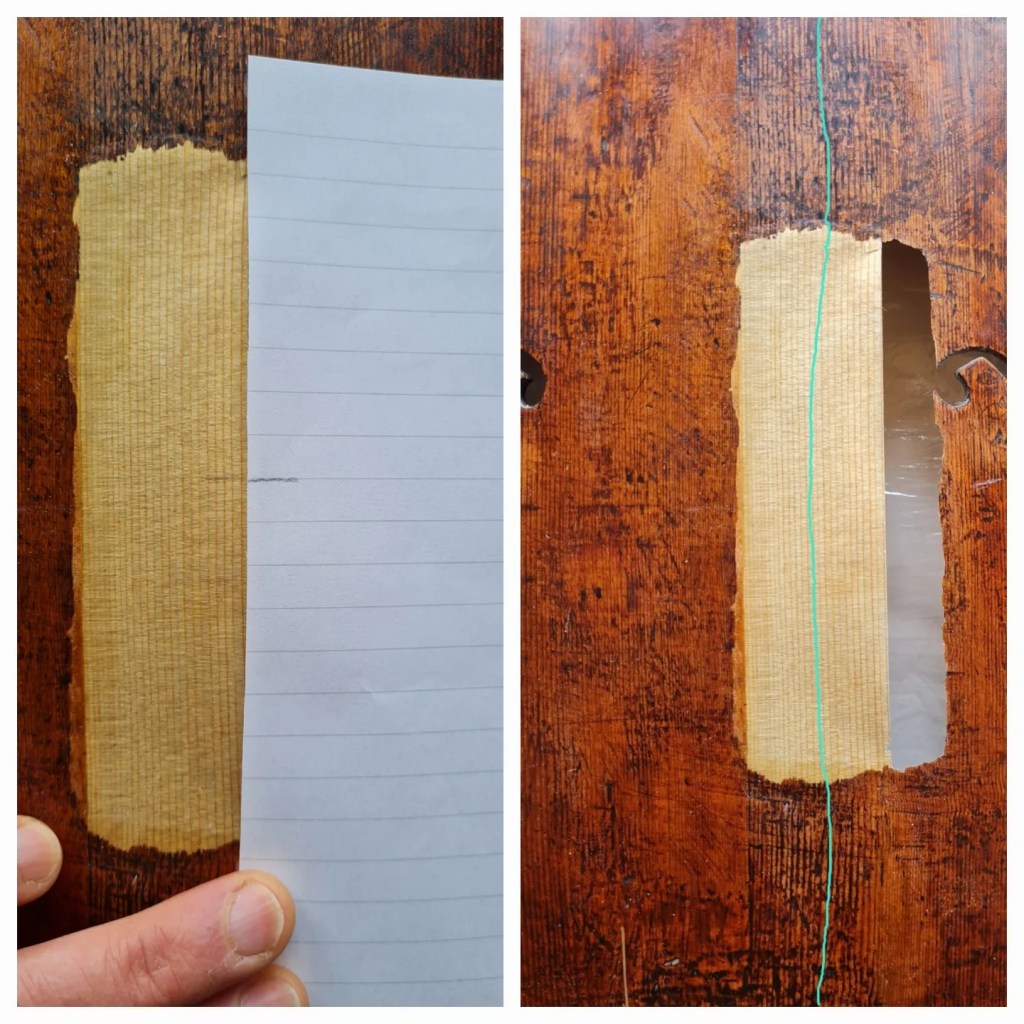
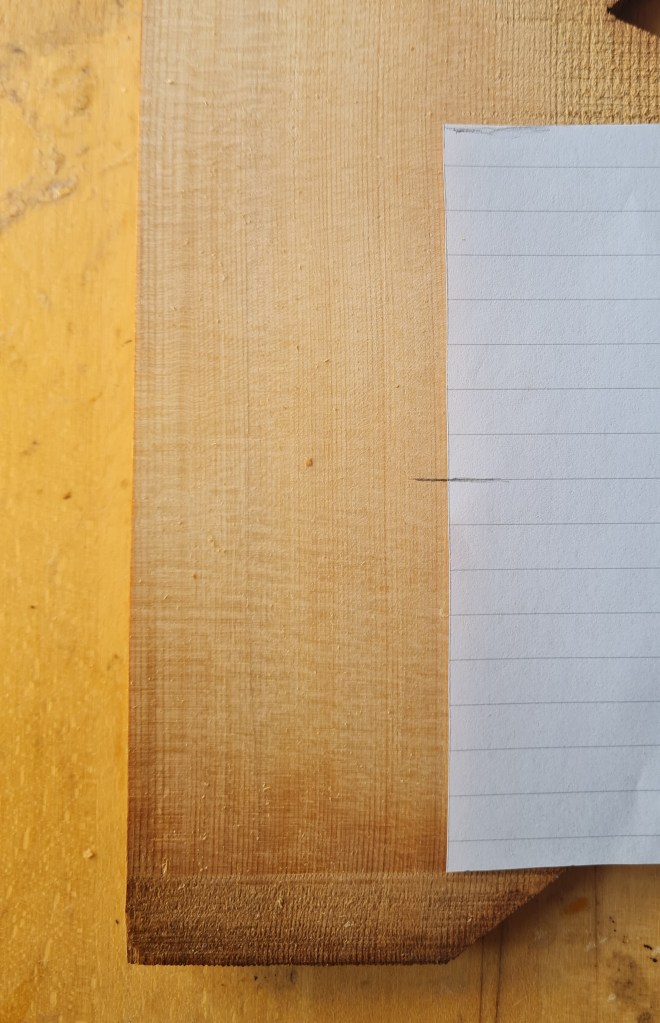
After gluing that first large shaving in, I realised that the original grainlines were bowing towards the centre joint and my shaving was doing the opposite. In the photo on the left, the edge of the lined paper follows the original grainlines. I hadn’t paid enough attention to looking along the grainlines at a low angle from which it became very obvious. Not good enough!


Because of the size of this whole area, the shavings are extremely fragile and one of the shavings developed a split, therefore I decided to double up the 2 shavings with identical ones over the top:

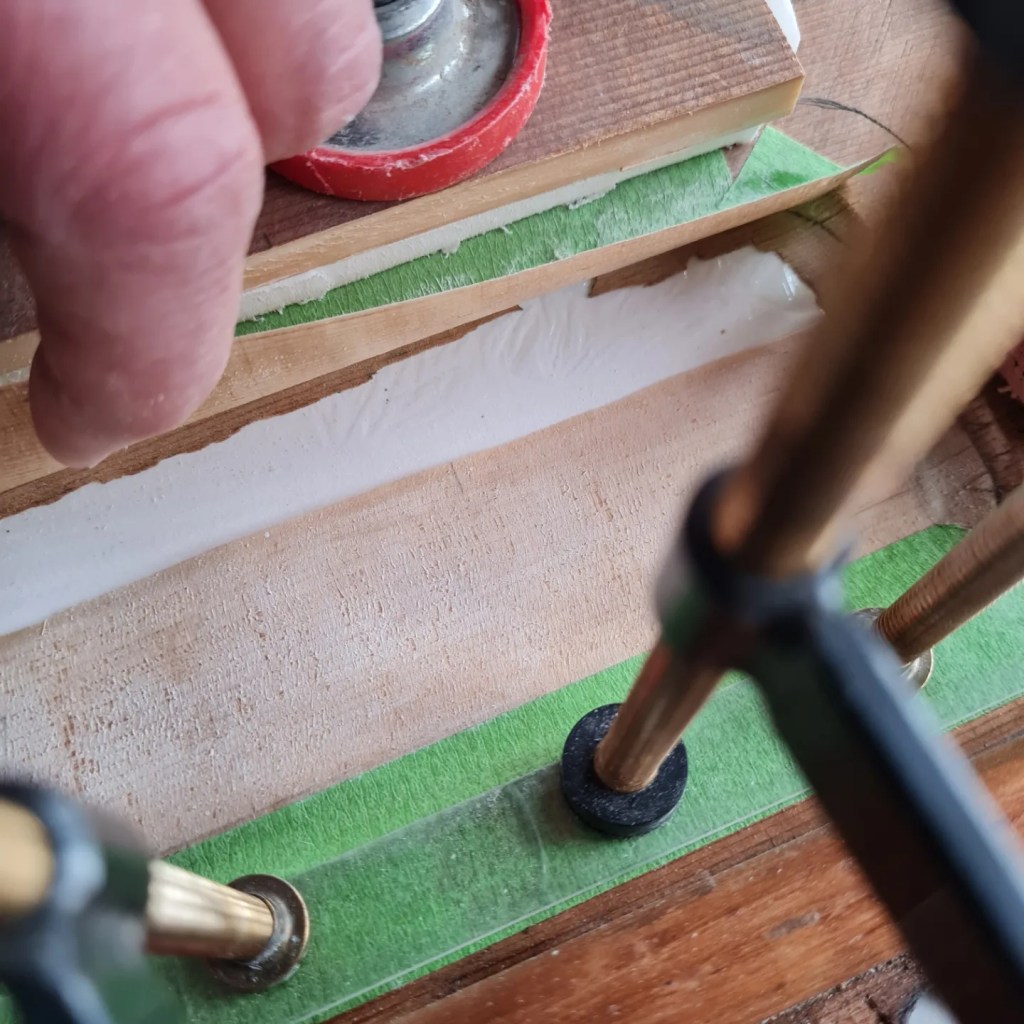
The shaving is being pressed and glued here. I found a much quicker way for fitting the backing board to the area by using dental compound and then my white foam material in between as previously:

The large “letterbox” cut-out has now been covered but the shavings are only around 0.3-0.4mm thick. Look out for my next blog post to follow the next step.

