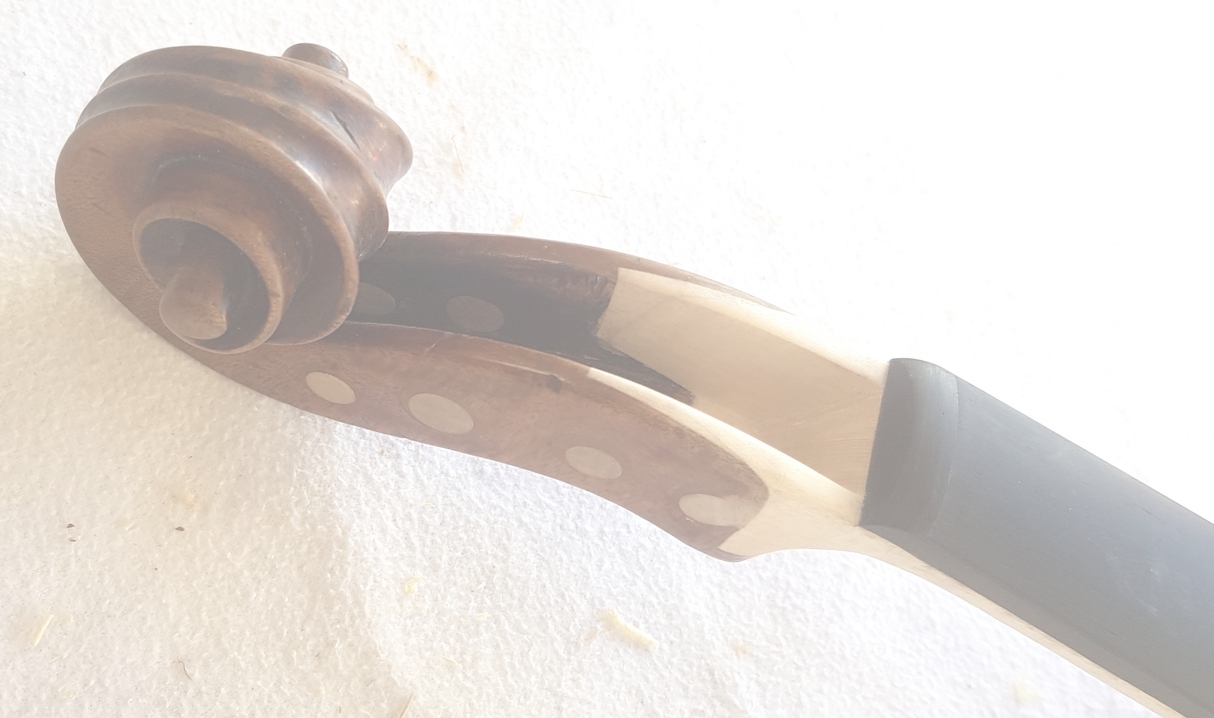
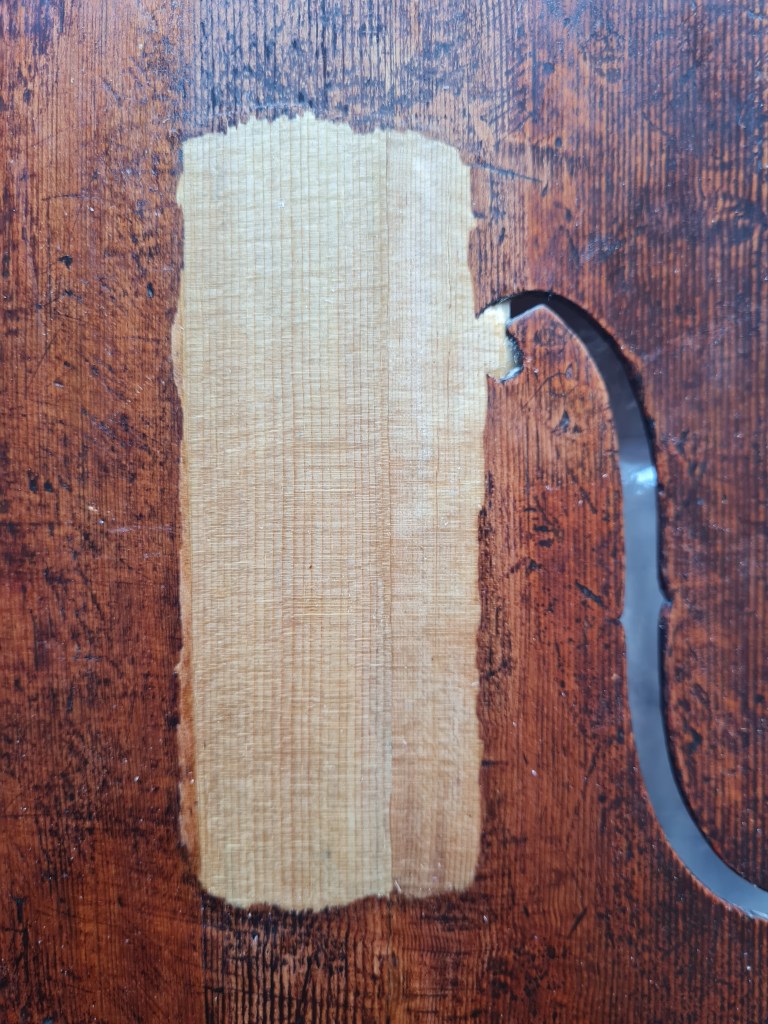
When I have done these kind of through-patches in the past, I have used one layer of shavings that can leave the area looking like a puzzle and quite uneven. It would therefore make the patch fitting quite hard and the grainlines from the patch may become visible through that thin layer of shavings.
Therefore I always back up the area with another pine slab-cut shaving to stabilise it and to be able to make the patch bed more even to ease the fitting of the patch afterwards.
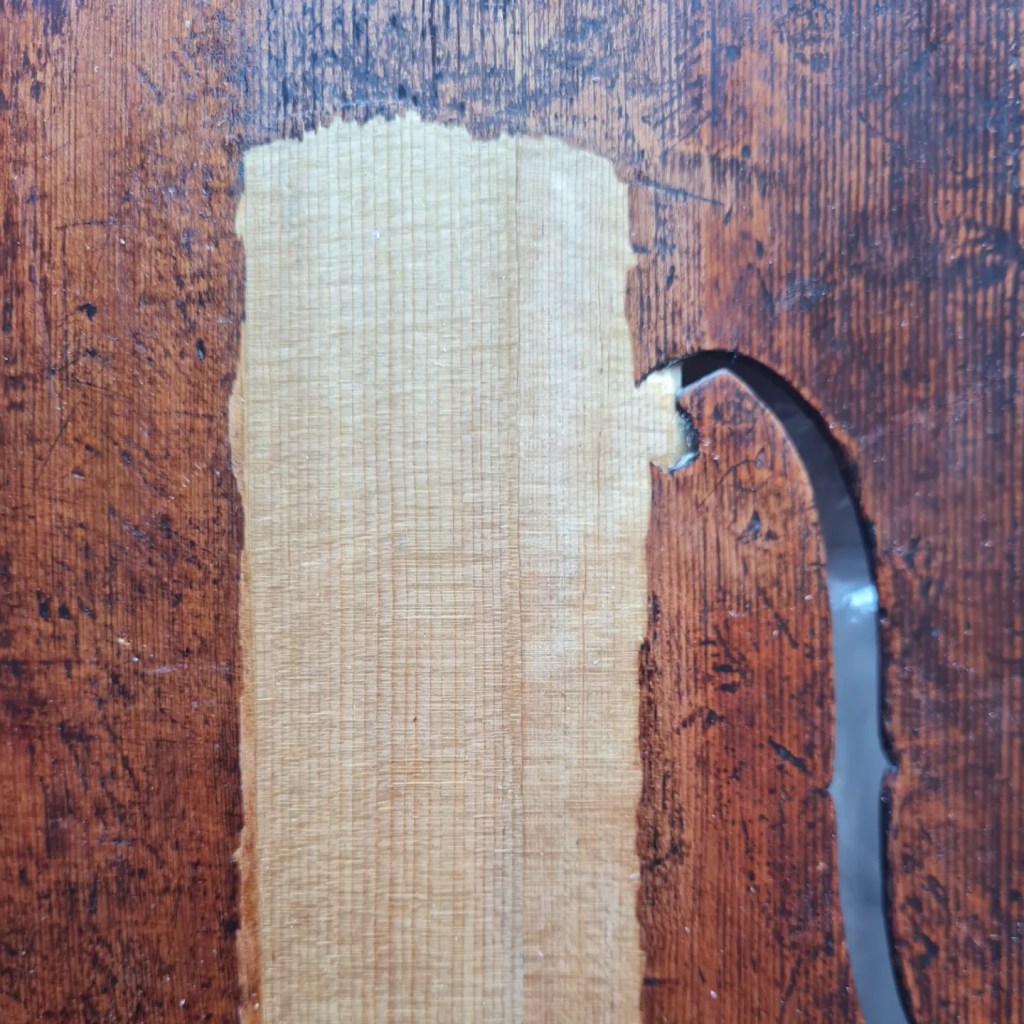
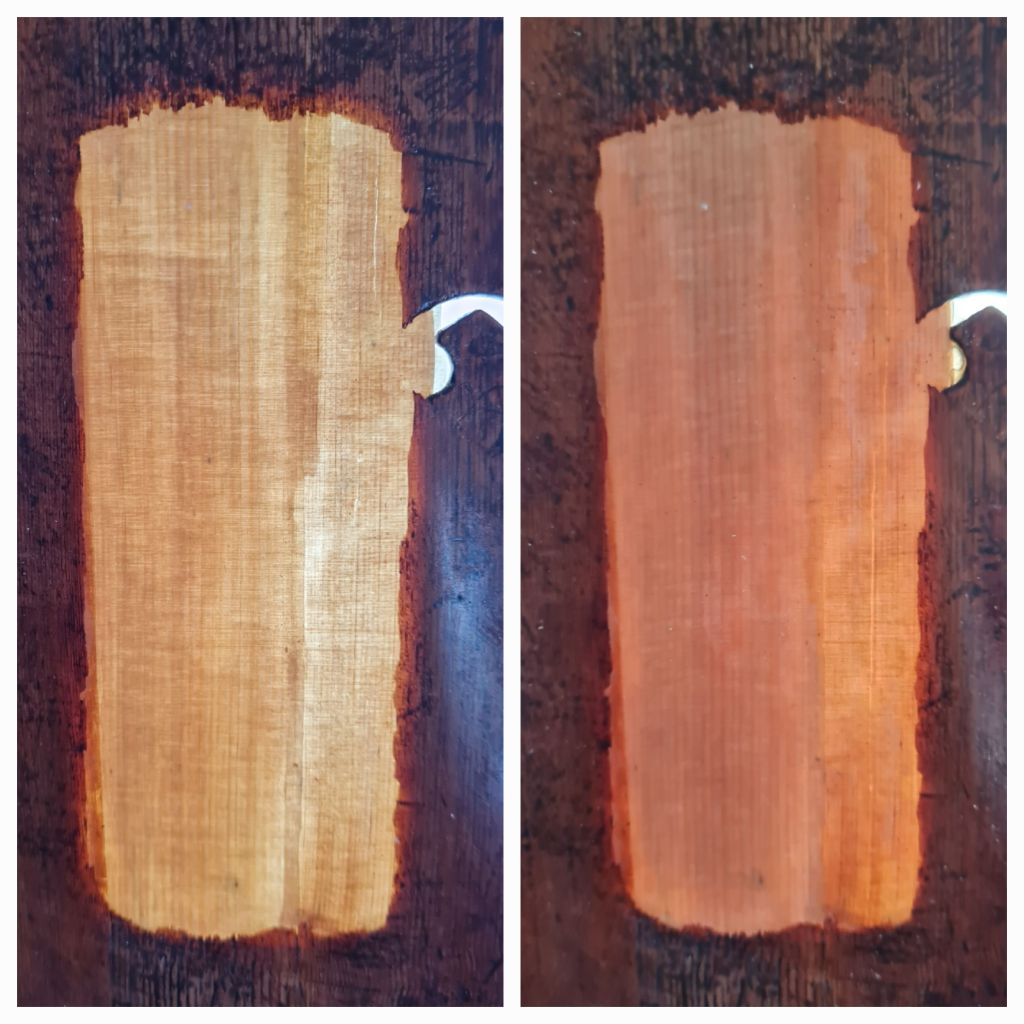
This time, on the recommendation of a friend, I have used willow instead for my slab cut shaving as it’s less reflective and has a darker and very even colour:

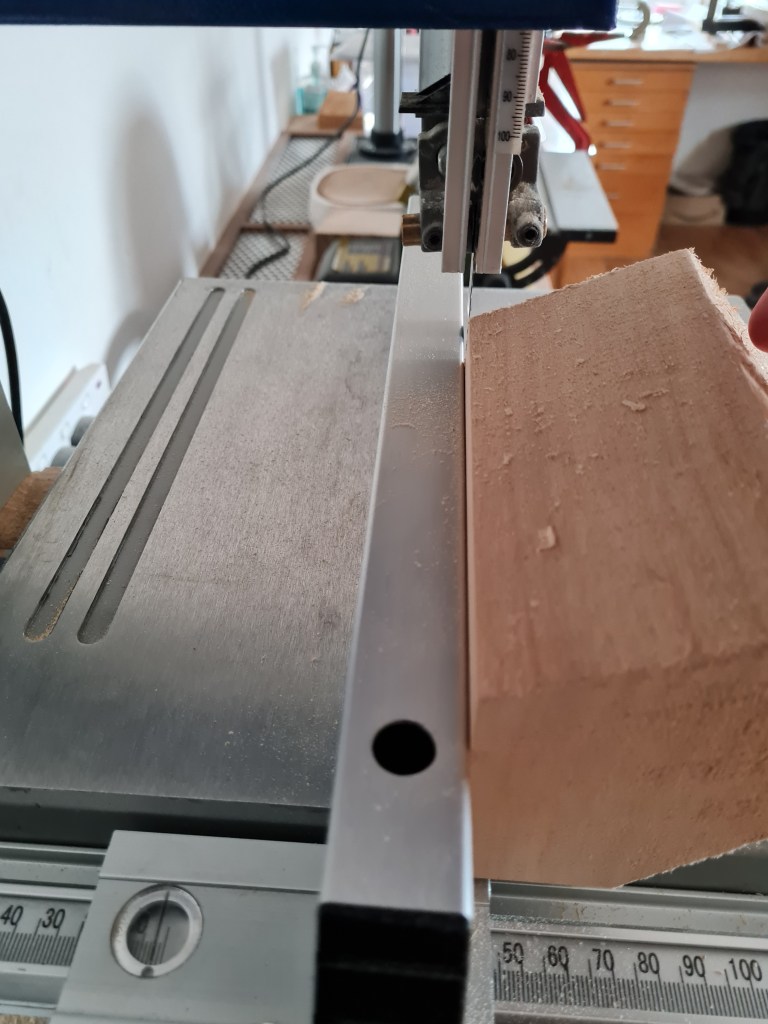
Reducing the thickness to around 0.5mm, thinning out a bit towards the edges to ease the bending of the shaving along the edges of the patch bed:


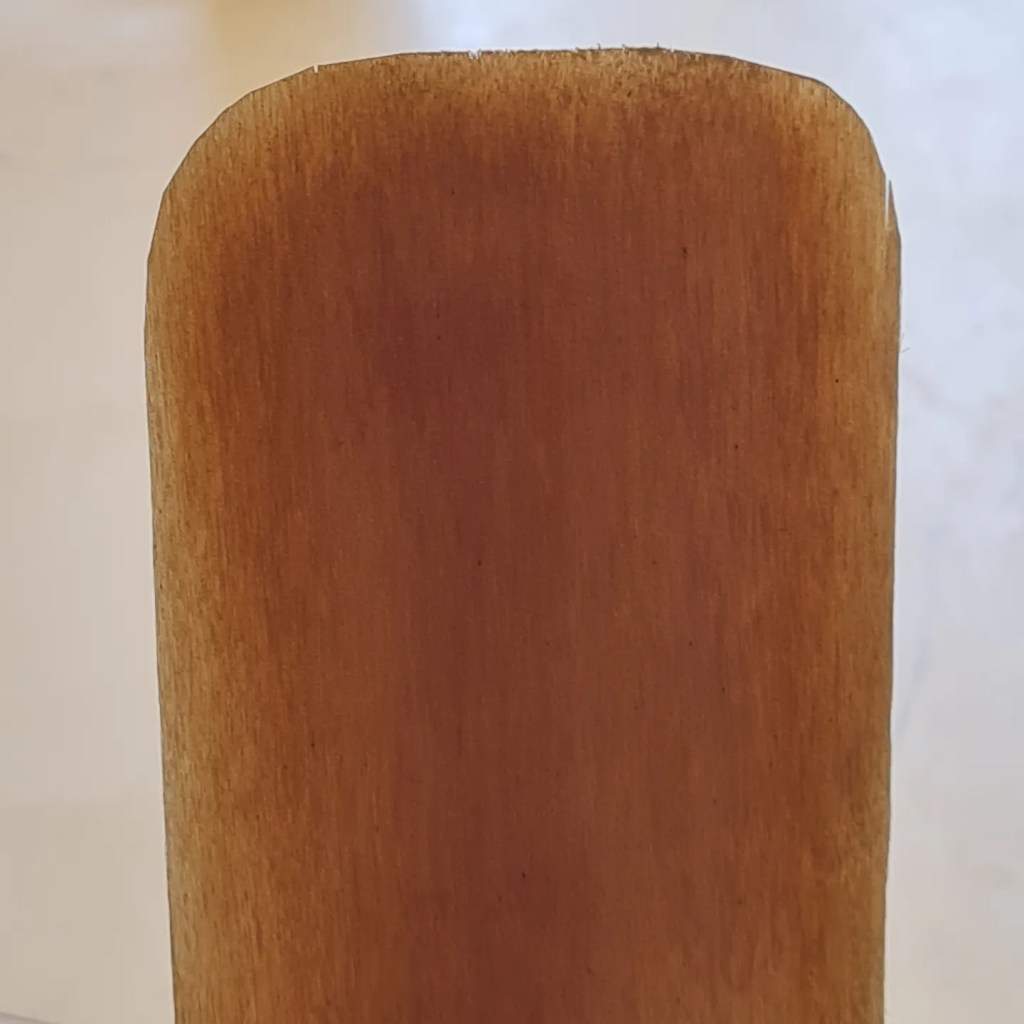


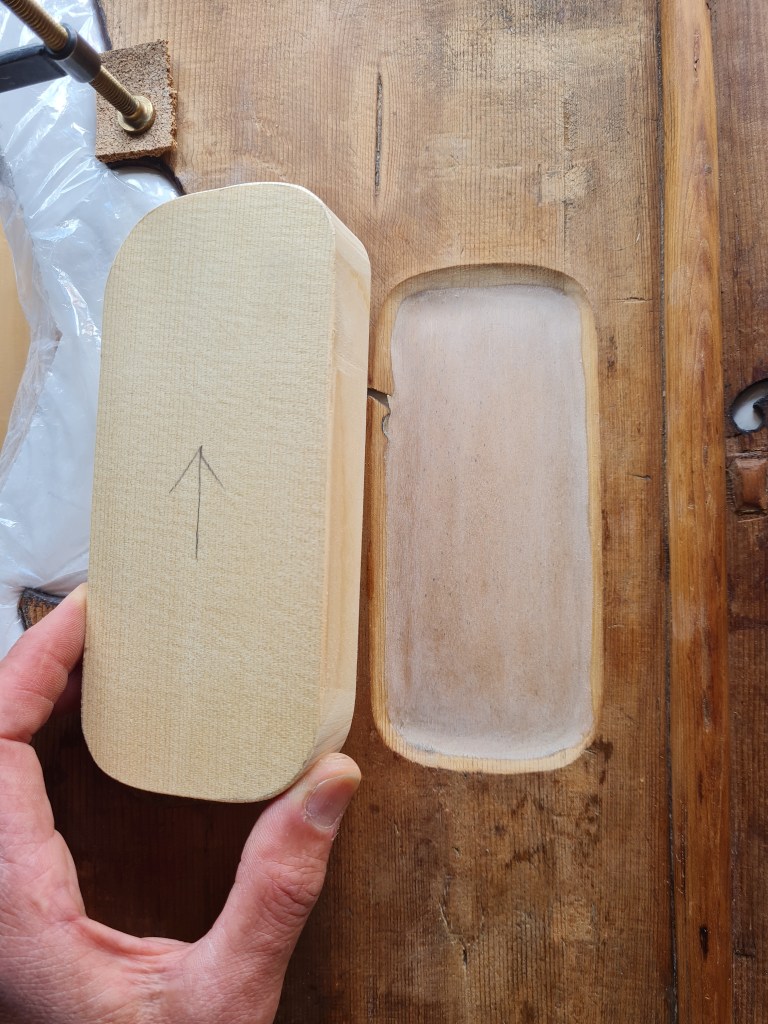
The patch bed area is slightly springy at the moment which will make the fitting of the patch difficult, so I’m now pressing the whole area with a warm sandbag to encourage it to sit better in the cast.
